I have been wanting to do this little project F-O-R-E-V-E-R-!!! I mean, I've even had the stuff to do it F-O-R-E-V-E-R-!!! Since Brady was sick Friday, I was at home Friday. Since I was at home Friday, I got almost ALL of my "chores" done for the weekend leaving me some time today for my little project.
These were the cutest picture frames I could find at Hobby Lobby. They were about $8 each (yes, I got them 50% off). The two rosettes also came from Hobby Lobby and I used my 40% off coupon on them making them about $1.25 each. The wired burlap ribbon came from Trees and Trends. Hobby Lobby was ALWAYS sold out, and Trees and Trends was actually cheaper.

Nothing like a project with the ole' hot glue gun.

The most difficult part was deciding how long to cut the ribbon. The bottom piece in the picture below is a tad longer than the width of the photo frame. (Notice the ends are cut in.) The top piece is what makes the bow, so it's actually easier to glue with the ends pointing out. **After getting this put together, I actually decided it needed another piece of ribbon on the very back (you'll see this in the final picture.) If you want yours to look the same, you'll need one additional piece cut a little longer than the bottom piece in the picture below.
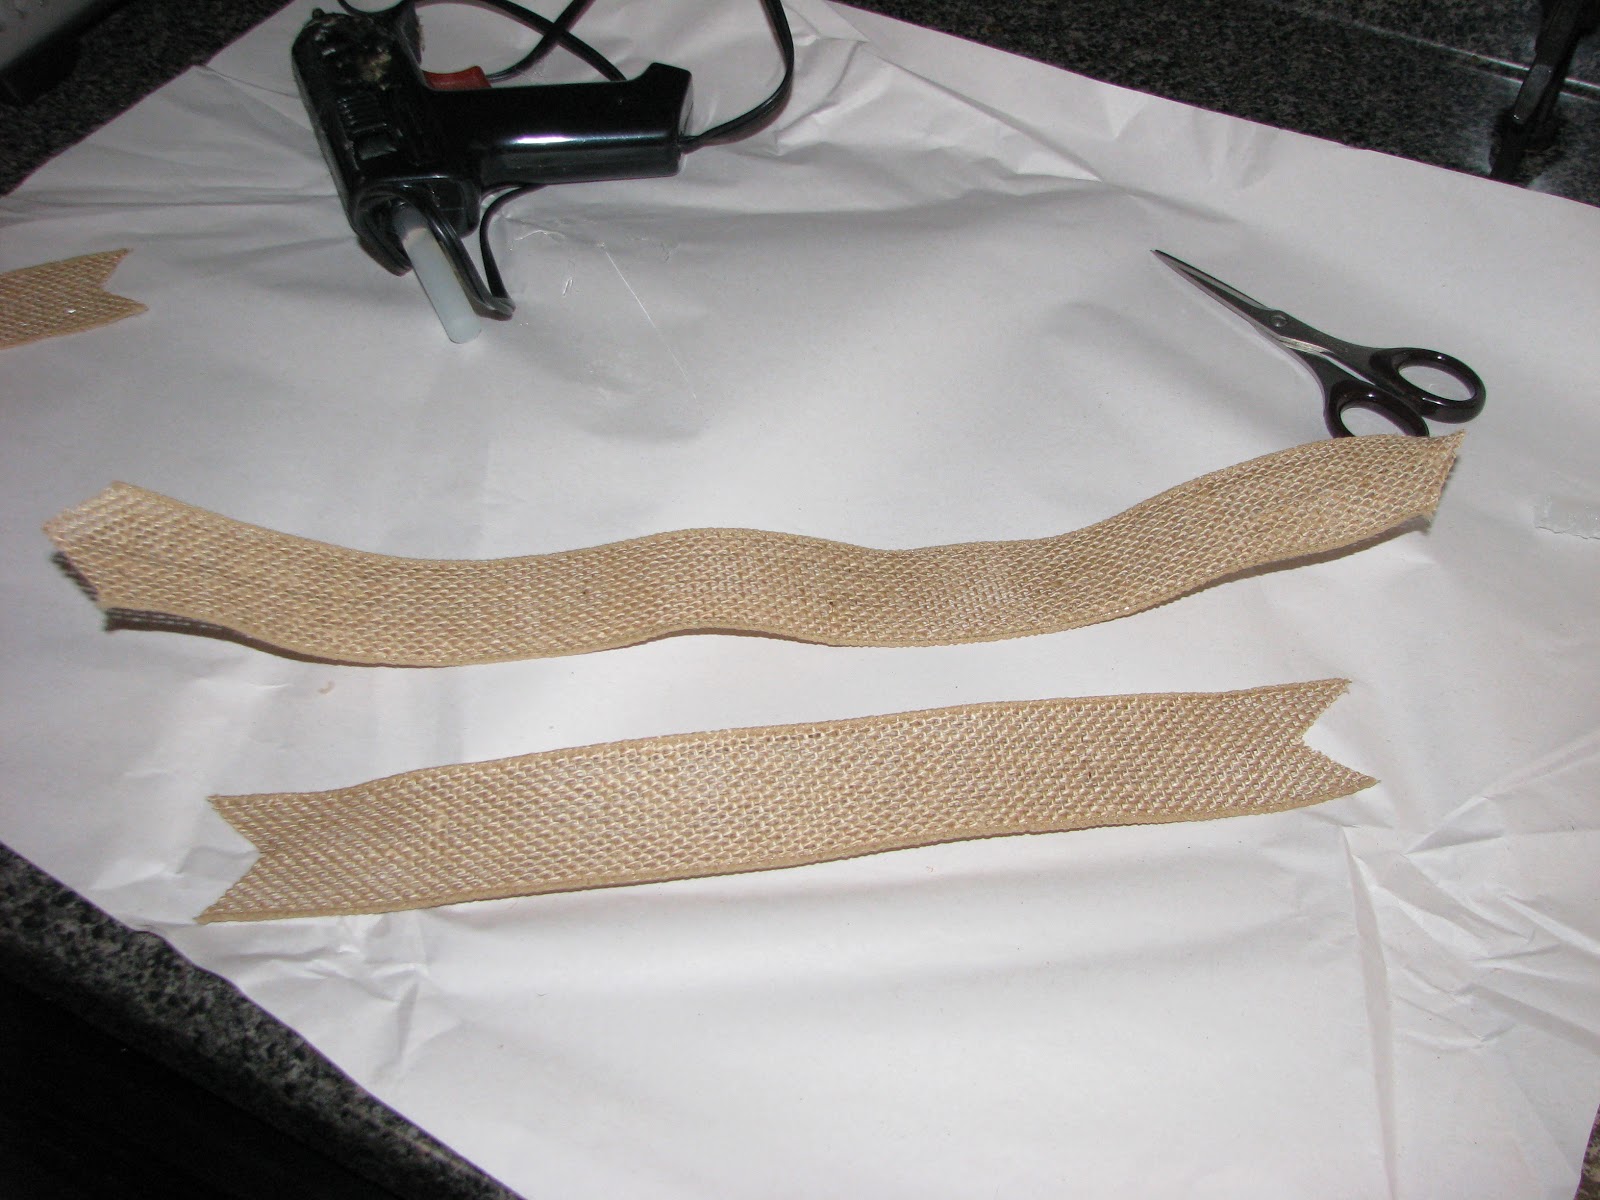
Make the bow by glueing the two ends together and then
glueing the center down to where the two ends meet.


The bow gets glued onto the flat piece of ribbon and then the rosette.


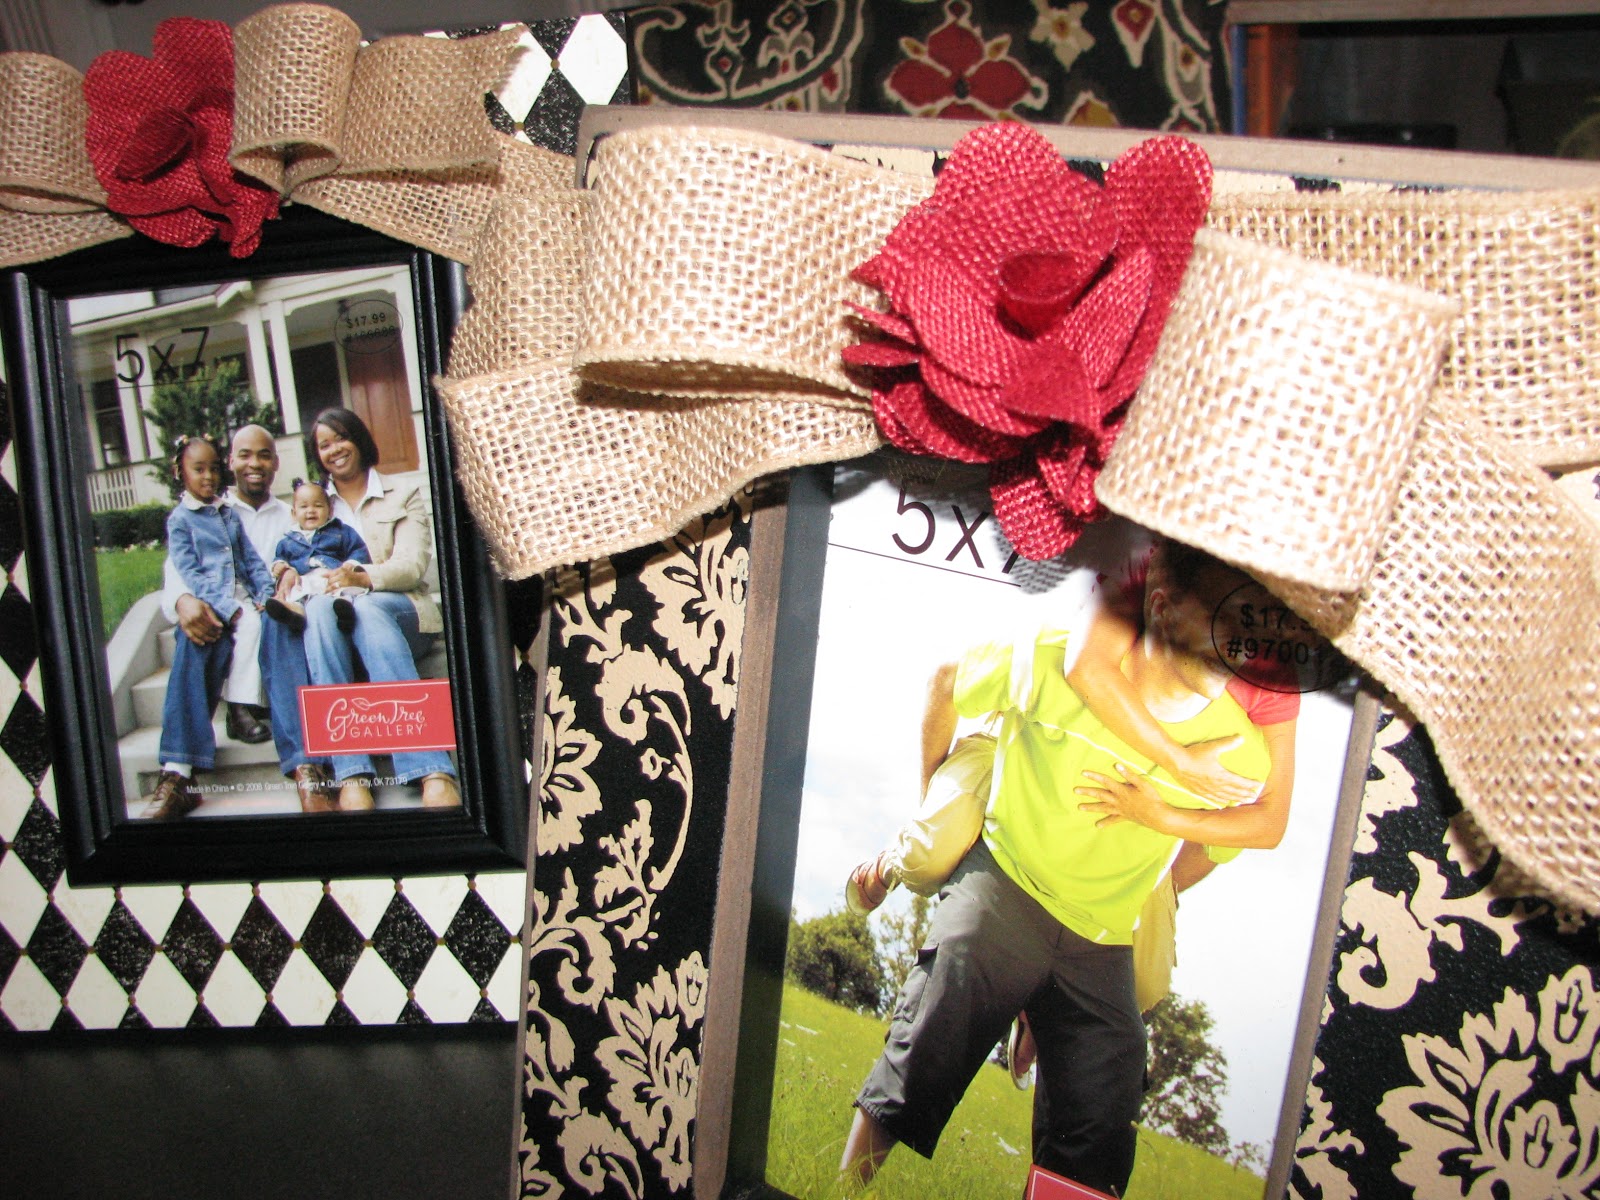
One of the frames found a home in the living room. I found a picture of Briley and
Daryl at last year's Valentine's dance (which you can't see for the horrible glare).


No comments:
Post a Comment